This is how I scan negatives and positives of all sizes with a setup that costs less than $50USD.
From the moment I started developing my own film, scanning negatives well has been routinely on my mind. While working exclusively with 135 film, I would use a dedicated 135 negative scanner for all of my scanning needs, though once I began shooting 120, I needed to look into a scanner that supported medium format, and unfortunately, I quickly realised a scanner like that was way out of my immediate price range.
A typical flat-bed photo negative scanner would set me back around $1700*. This meant I could either spend $30 per roll at my local lab to have all my film scanned until I could justify spending the money on my own scanner, or I could come up with a cheaper solution.
*Keep in mind that I live in Australia, so all currency will be in Australian dollars, unless specified otherwise.
Can I make do?
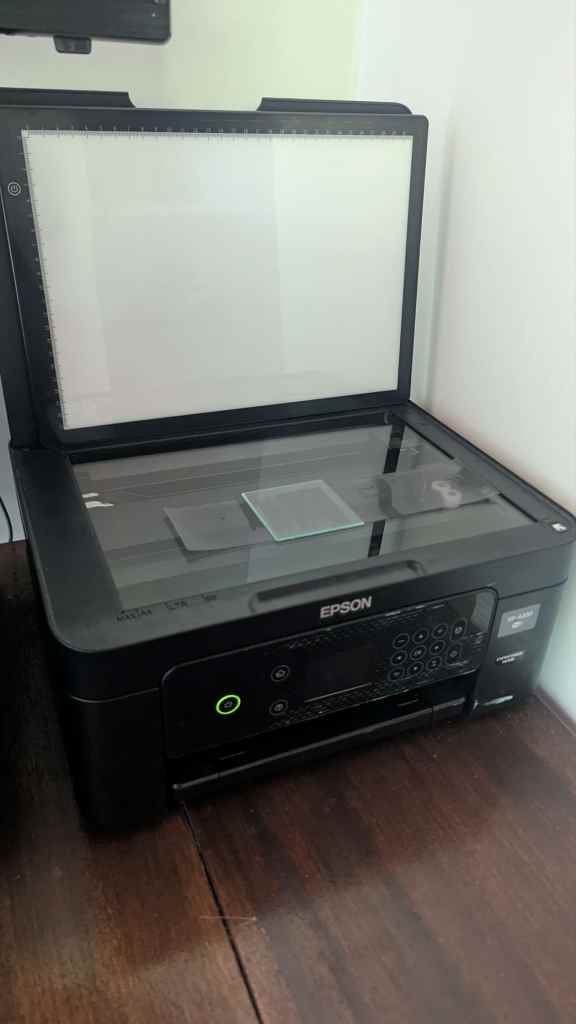
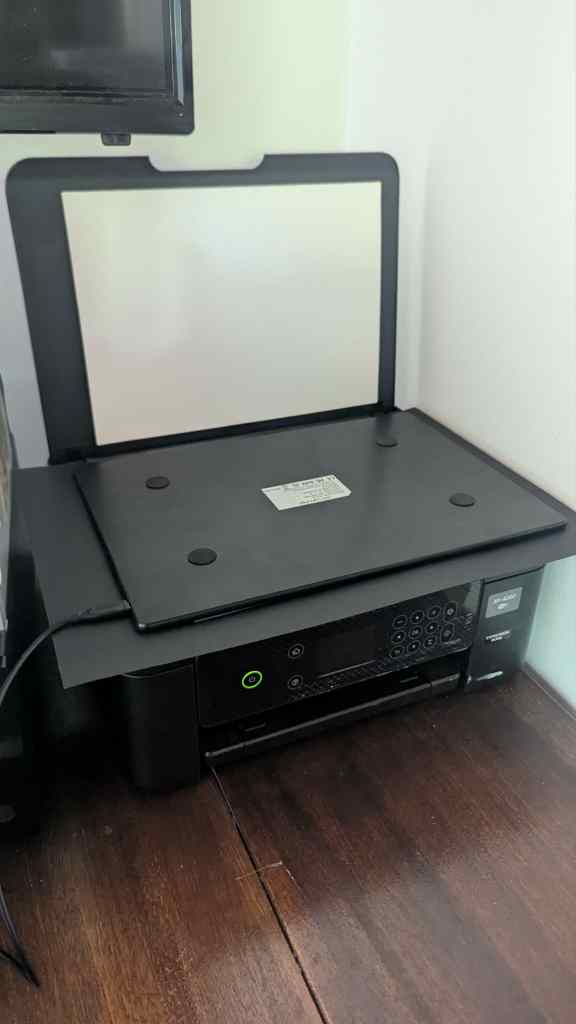
With that in mind, while researching medium–large format scanners and digital camera scanning, I wondered if I could set up the scanner on my printer in the same fashion. For the most part, it seemed as if it would work, presenting its first barrier only when I realised my scanner lacked a backlight. This issue wasn’t too difficult to resolve fortunately—inspired by the idea of a light pad used for sketching, I bought a $7 backlight and began scanning with it the next day.
In my first backlight test, it was apparent that my backlight was excessively bright at the lowest brightness setting, and because of that, all of my photos were coming through as if they had been harshly underexposed. It’s possible that a backlight with greater brightness variation would solve this issue, but fortunately, my family owns a business that opened me up to a different solution—one that set me on an unexpected path of more creative potential.
A creative solution
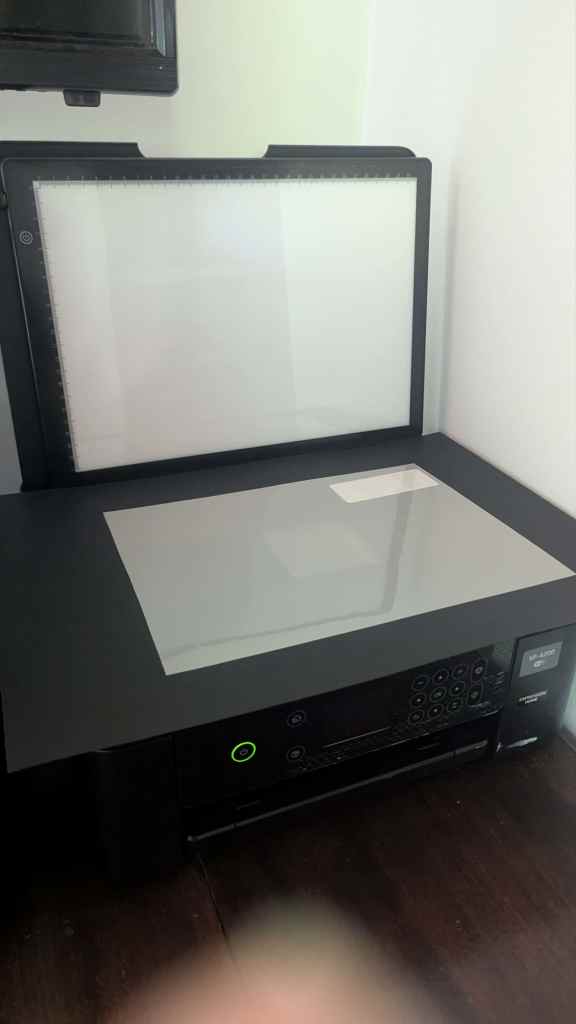
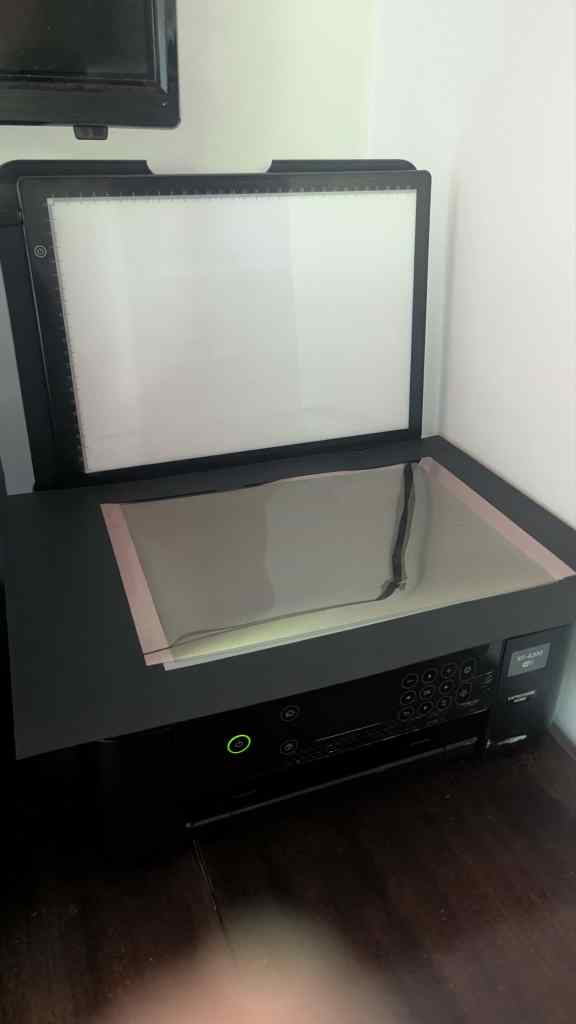
The next day, I visited my family’s window tinting workshop, brought home different shades of window film and began testing them out as a tinted sheet between the negatives* and the backlight. Rewardingly, after a bit of experimenting, I found a shade of window film that offered a decent exposure for for most scans, and initially began using it for every scan.
*I use the word negative because I mostly scan b&w negatives, but the method will work for scanning positive slides, as well as colour.
Though over the span of scanning a couple of rolls, I came across photos that would come out either too washed out or too underexposed with that particular tint. Much like a digital camera, a scanner has default exposure settings that you can often customise, so I attempted to change the exposure settings within my scanning software to account for this, however, these settings only change the exposure after scanning, and I found I was losing parts of the negatives that were either too bright or dark for the scanner to pick up at the physical exposure.
This inspired me to get creative: changing out tinted sheets, using combinations of sheets, and adjusting the backlight brightness to find the best exposure at the scanning stage. I found a sheet that gave me a pleasant tone at the lowest backlight brightness. I would increase the brightness to bring out the darker areas of the photo and add different shades of sheet to bring out the lighter ones, until I arrived at the contrast and shade I desired. This worked really well!—and I was thrilled with the outcome.
This method allowed me to adjust the exposure of my photograph before it was scanned, because once my scanner had captured a particular exposure physically, I could only get so much from editing; a computer cannot authentically recreate what wasn’t captured. As someone who tends to take a lot of intentionally underexposed shots, getting the most from the lighting of the original exposure is important to me.
Another popular approach uses a digital camera instead of a scanner, photographing the negative from above. Purchasing a setup like this is fairly affordable and works in much the same way. Though I prefer the scanner approach when it comes to handwork. If you want to recreate darkroom techniques like burning, dodging, and creating composites with the assistance of tinted sheets or other physical objects, I find it far easier to work from above the negative, rather than using the camera method, where the tinted sheet is forced underneath the negative, limiting how accurately you can line up your techniques. Once I’ve had more time to refine the craft of handwork, I’ll put together a tutorial on how I approach different techniques using the tinted sheet-and-scanner method.
What else do I need to make this work?
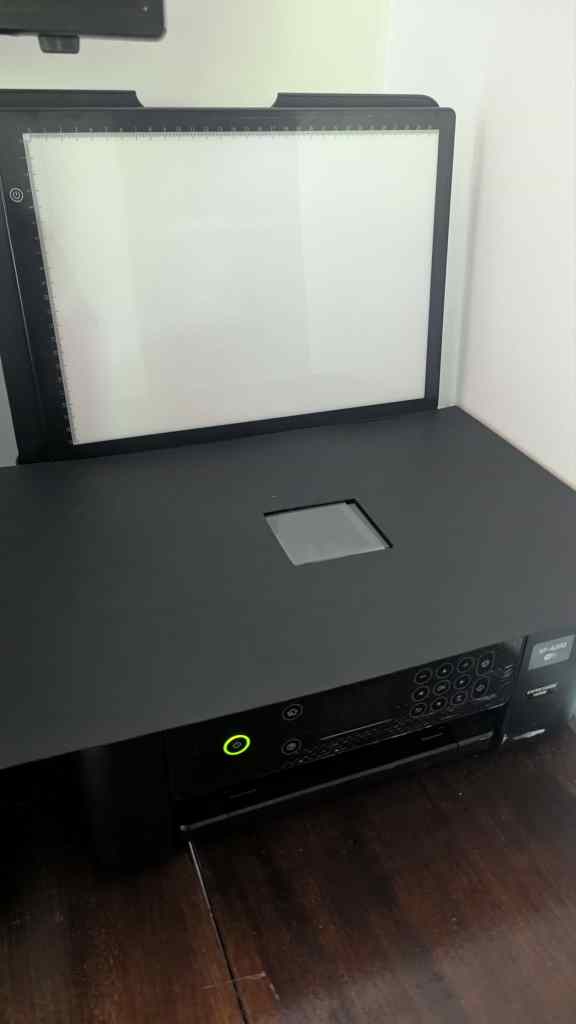
To hold the negative down, I used a small square piece of glass from a spare negative carrier for my enlarger. To prevent reflections and flares in my photos, I bought a piece of matte black craft paper and cut a roughly 7×7 hole in it, and I brought home a sheet of matte white window film from my family’s workshop to work as a diffusion sheet.
Once I had all of this, my setup was complete—I could confidently begin scanning again. I set my resolution to 2400 dpi with a 48-bit depth and 24-bit output—so I was scanning in high optical detail and depth—and found a good base exposure setting. To finish off, I opened all my scans in GIMP, inverted the colours, and cropped the photographs to the correct size.
Now, I use my printer scanner for negatives and positives of all sizes, and I personalise every scan at the physical level. I play around with shades of tinted sheets and backlight brightness, using intuition to find the perfect contrast for each photograph.
How much does this all cost?
All together, from conception to realisation, this setup cost me only $10. This is because I already had the printer, the glass, and the window film. Having these foundations gave me a solid starting point, but even if you don’t have them, if you’re interested in putting together a similar setup, you can still buy everything you need relatively cheaply. As a beginner especially, it’s hard to justify the price of a professional photograph negative scanner.
The printer I’m using originally cost me $85 from a local store, but you can often find a printer with a scanner in a secondhand shop for about $20. I have had no issues with Newton’s rings so far with my printer scanner, but if you do, you might consider scanning emulsion-side-down instead. Just be sure to check the specifications of any printer you’re considering to make sure it has a good-quality true optical scan.
Some scanners these days use interpolated DPI, which guesses extra pixels in your scan; it doesn’t add real detail beyond the scanner’s true optical resolution, and is not really necessary. The scanner I use offers true optical scanning up to 2400 dpi, which I find is sufficient for good-quality photographs.
As I mentioned, the backlight cost me $7, and the matte black craft paper set me back another $3, which totals the $10 I spent. As for the piece of glass to keep the negative flat, you can buy large specialty microscope slides for about $15 at some lab supply stores if you want a small dedicated piece; however, there is no shame in using the glass from a small photo frame, if you have one spare lying around. I found a small photo frame for $5 at a secondhand store recently—that’s all you need.
Lastly, if you find that your backlight doesn’t have the variation you need, it could be a fun idea to experiment with different shades of window film, or another type of tinted sheet. Some window film suppliers or window tinting businesses may be willing to send you a sample pack for a small fee. Otherwise, email me at tumas@35mm.life, and I’ll ship you out the same tinted sheet pack I use from my family’s workshop at cost price, with each film labelled with its light transmission value.
Realistically, along with the film, this whole setup secondhand might cost you around $65, or about $42 USD, and even brand new it still comes in far cheaper than the almost $2000 you’d typically spend on medium–large format negative and photo scanners.
Happy scanning!